With the introduction of the new Annual Inspirations, CTMH has changed how they do the Stamp of the Month program, which mostly affects consultants but you the customer get to benefit from it too.
In the past, consultants could only purchase the stamp of the months ahead of time with a large prepaid order of Idea Books. Not always easy for the little guys (like me) to be able to work ahead. Used to be, we could order a SOTM one month prior but we'd have to pay full retail price for it. Still not something a little guy (like me) could do. These are the two reasons you rarely saw SOTM projects from me - because I was purchasing them, like you, with my orders, usually at the end of the month.
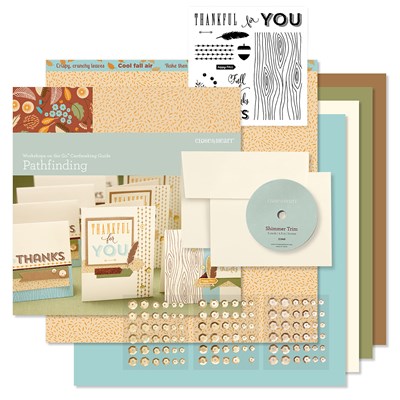
However, that is in the past!!! Did you see the first few pages of the Annual Inspirations? All 12 SOTM sets are shown!!!!! That's right - you can see what the next twelve special stamp sets are going to be and plan your purchases accordingly! And - they are only $5 with a qualifying order! Seriously - this is a game changer for me! And here's the proof:
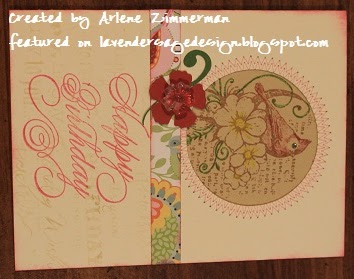
An August Stamp of the Month Card!!
 |
| Chalk It Up paper pack with August SOTM & ShinHan alcohol markers |
I used Chalk It Up paper pack for the background and mat then stamped the images on White Daisy cardstock using the Archival Black stamp pad and let it dry overnight. I used the new ShinHan alcohol markers in Marigold, Golden Yellow and Barely Beige on the belly of the owl and the pumpkin (top) and Carmine for the mask that was stamped in Ruby ink. The feathers of the owl, I used Warm Gray 7, Warm Gray 4 and Clay.
 |
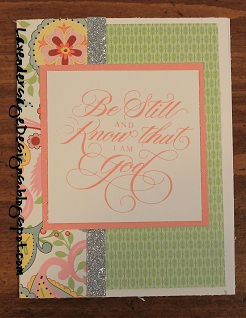
| Chalk It Up paper pack with August SOTM & ShinHan alcohol markers |
I wanted to compare the new ShinHan alcohol markers to the water-based markers of the past and you can tell the difference in the photo above. I used the same marking technique on both pumpkins but you can tell how much better the alcohol markers blend together as you color.
 |
| Chalk It Up paper pack with August SOTM & ShinHan alcohol markers |
I wanted to see what else I could color with the new markers, so I did the white enamel stars and the puffy prints from the Chalk It Up accessories. Cute!
This was a super fun project as I was able to experiment (successfully) with new products to show you how cute the Stamp of the Month is and how versatile the Chalk It Up paper pack is.
Check back on August 10th as I will be participating in the Joyful Stars Blog Hop with another Chalk It Up scrapbook layout I created.