 |
| Finished Project - So easy to make! |
 |
| Sponge all the edges of the entire box in a dark color of your choice. |
 |
| Using the box as your guide measure your papers for each side. When necessary, use a craft knife to cut curves and notches. |
 |
| I found it easiest to apply the tape to the box first in case I needed to trim the papers at all. |
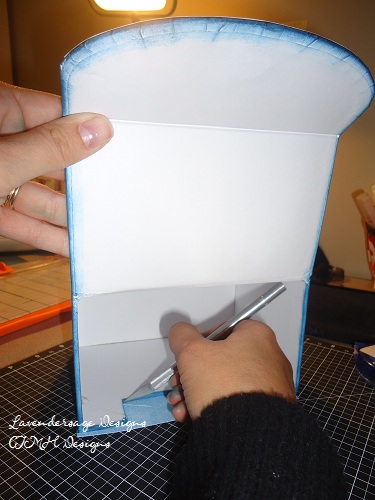 |
| I used a craft knife to cut the notch out of the front of the paper. |
 |
| I used a Dimensial Elements chipboard sheet as a template to cut a embellishment outline. |
 |
| I stamped a flower and sentiment from "Unity" in Pacifica then inked the edges in Desert Sand. |
 |
| I used a neat technique with our clear acrylic stamps - turn the back side out on the block and stamp a black out shape to create a custom outline. |
 |
| Turn the stamp over so the normal side is facing out and stamp with a darker ink to enhance the black out shape you just made. |
|
| The final product - add some Sparkles, embellish and enjoy! |


No comments:
Post a Comment